Jan 17, 2026

4 min read

Think of a React Native app template as a professional, pre-built foundation for your mobile app. It's a complete codebase that handles all the tedious setup work—navigation, UI components, state management—so you don't have to. This lets you jump straight into building the features that make your app unique, rather than spending months on boilerplate code.
Sure, you could start a new project with a blank repository. But it's a slow, painful grind. Everyone talks about templates saving time, but the real advantage is much bigger than that. A well-built React Native app template isn't just a shortcut; it's a strategic accelerator built on battle-tested best practices.
Imagine you're a startup trying to lock down funding. Using a template means you can get a polished minimum viable product (MVP) in front of investors in weeks, not months. The difference between a professional-looking app and a clunky prototype can make or break an investment deal.
Or maybe you're a freelance developer. By cutting out repetitive setup for every client, you could realistically double your project output.
The best templates don’t just give you code; they give you a modern tech stack that experienced dev teams are already choosing for new projects. You'll often find they come pre-configured with essentials like:
This setup ensures your app has that native feel, a cohesive user interface, and a solid architecture from day one. If you're just starting to explore how to create your own app, you'll quickly see why beginning with a template is such a powerful move.
Choosing a template isn't about skipping work. It's about starting your project on a higher level, standing on the shoulders of experts who have already tested and refined the architecture you’re about to use.
Instead of burning weeks configuring navigation, wrangling state management, or building basic login screens, you get to focus on what actually matters: the unique features that will make people love your app. For a deeper dive, check out our guide to mobile app templates.
Ultimately, it’s about shifting your energy from foundational plumbing to feature innovation. That’s how you gain a real competitive edge.
Not all templates are built the same. A flashy UI can easily mask a tangled, unmaintainable mess of code underneath. Before you sink your time and money into a React Native app template, you absolutely have to pop the hood and check its technical guts.
This isn’t just about dodging a few headaches down the line. It's about making sure your project is built on a solid foundation that won't crumble a few months in.
The first thing I always do is crack open the package.json file. This tells you everything you need to know about the template's core dependencies. A quality template is almost always built with a specific set of powerful, community-backed tools.
Here’s what you should be looking for:
.ts and .tsx files with a proper tsconfig.json is a huge green flag—it shows the author actually cares about code quality.Getting this foundation right is crucial. The React Native ecosystem is enormous and moves at lightning speed. As of September 2024, it pulls in over 20 million weekly downloads on NPM, blowing past alternatives like Angular and Vue.js. That kind of popularity means the community has high standards, and a template built on these modern tools is a clear sign it’s following best practices.
To help you stay systematic, here's a quick checklist to run through when you're sizing up a new template. It covers the essentials that separate a production-ready template from a weekend project.
| Feature | What to Look For | Why It Matters |
|---|---|---|
| Framework | Built with Expo SDK | Simplifies development, builds, and updates. |
| Language | Full TypeScript Integration | Catches errors early, improves code maintainability. |
| Styling | NativeWind (Tailwind CSS) | Utility-first styling for rapid, consistent UI development. |
| UI Components | A robust library like gluestack-ui | Provides pre-built, accessible, and themeable components. |
| Folder Structure | Logical separation of concerns | Makes the codebase easy to navigate and scale. |
| Documentation | Clear setup and customization guides | Reduces onboarding time and frustration. |
| License | Permissive and clear licensing terms | Ensures you can legally use it for your commercial project. |
| Updates & Support | Recent commits and active support channels | Shows the template is maintained and help is available. |
Think of this table as your first line of defense. If a template checks all these boxes, you're likely looking at a high-quality asset that will accelerate your project, not slow it down.
Once you've confirmed the tech stack is solid, it's time to actually look at the code. A clean, logical folder structure is one of the clearest signs of a well-architected project. If you see random files scattered everywhere and confusing, deeply nested folders, run.
A well-organized codebase isn't just about looking neat; it's a direct reflection of the developer's discipline. If the files are a mess, you can bet the logic inside them is, too.
I always look for a structure that cleanly separates concerns:
components directory for reusable UI elements.screens or features folder for individual app views.navigation folder to manage routing logic.hooks directory for custom React hooks.theme or styles folder for global styling configurations.This kind of organization makes it dead simple to find what you need and add new features without tripping over existing code. A good React Native app template should feel intuitive from the moment you open the project.
If you want to dive deeper, our detailed guide on React Native Expo templates offers more insights into what makes a great project structure. By starting with a modern stack and a clean architecture, you’re setting yourself up to build something that can actually scale.
Let's talk about something most developers would rather ignore: software licenses. It's easy to dismiss them as legal jargon, but skipping the fine print on your React Native app template is a huge mistake.
Choosing the wrong license can trap you in a mess of legal and financial problems later on. You need to know exactly what you can and can’t do with the source code before you write a single line of your own.
Think of it this way: getting the licensing right from the start puts your project on solid ground. It lets you build without constantly looking over your shoulder for legal surprises.
Most marketplaces, including our own gluestack market, keep things simple with a few standard license tiers. While the names might change slightly, they usually fit into three buckets. Knowing the difference is crucial.
Let’s break them down with real-world scenarios:
Personal License: This is your most basic option. It's perfect for a portfolio piece, a student project, or a non-commercial prototype you're hacking on. The key rule? You absolutely cannot use it for a client project or any app designed to make money.
Commercial License: This is the bread and butter for most professional developers. It gives you the green light to build one commercial app, either for your own business or a single client. If you're a freelancer building an e-commerce app for a local shop, this is the one you want.
Extended License: This license is for bigger ambitions. If you’re building a SaaS product, a subscription-based service, or any app where your users pay you directly, you need an extended license. This covers products sold to multiple customers.
This flowchart shows how our technical evaluation process—checking the tech stack, code quality, and UI library—flows right into these critical licensing decisions.
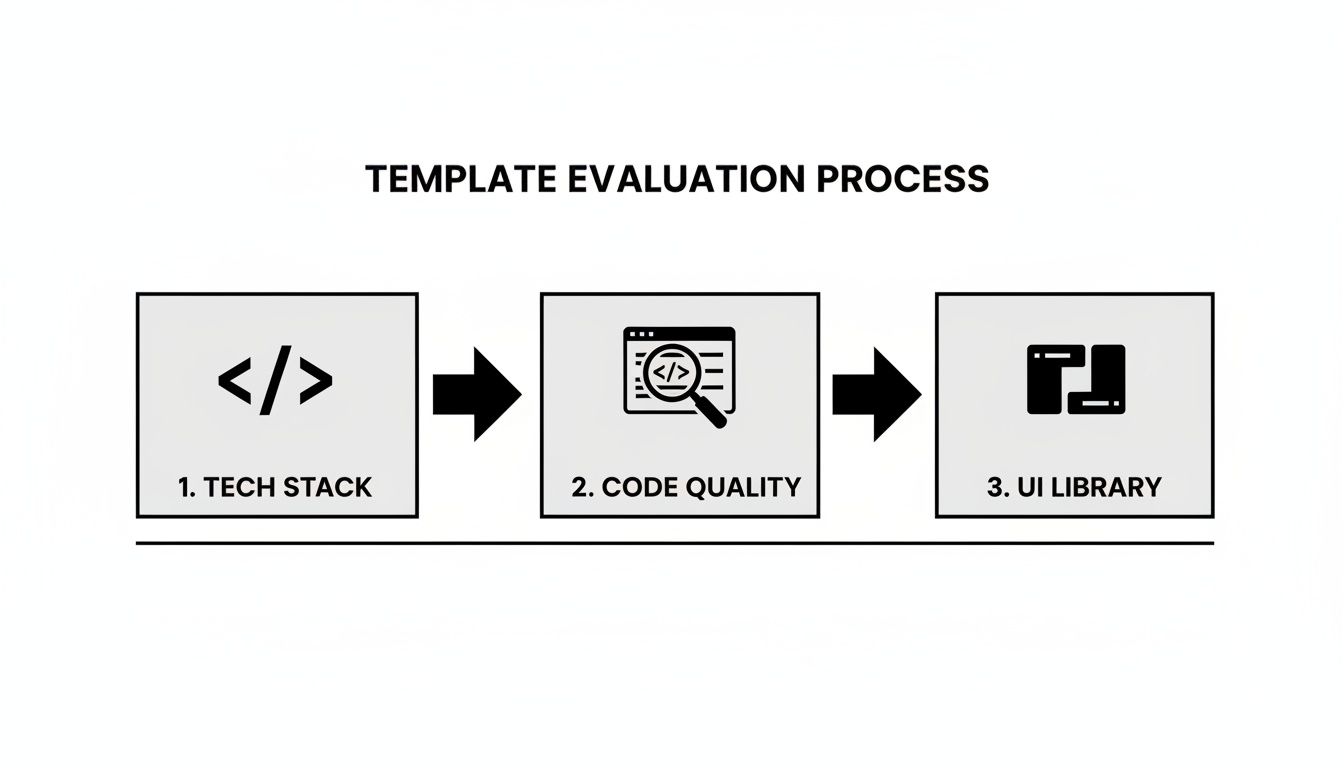
As you can see, technical validation and legal compliance are two sides of the same coin. A great template has both.
Key Takeaway: Always match the license to your business model. Using a Personal license for a commercial project isn't just a bad idea—it’s a direct violation that can get your right to use the template revoked.
Don't forget to read the fine print. Does the license include future updates? Can you reuse components in other projects? Taking a few minutes to clarify these details upfront will save you countless headaches and let you build with confidence.
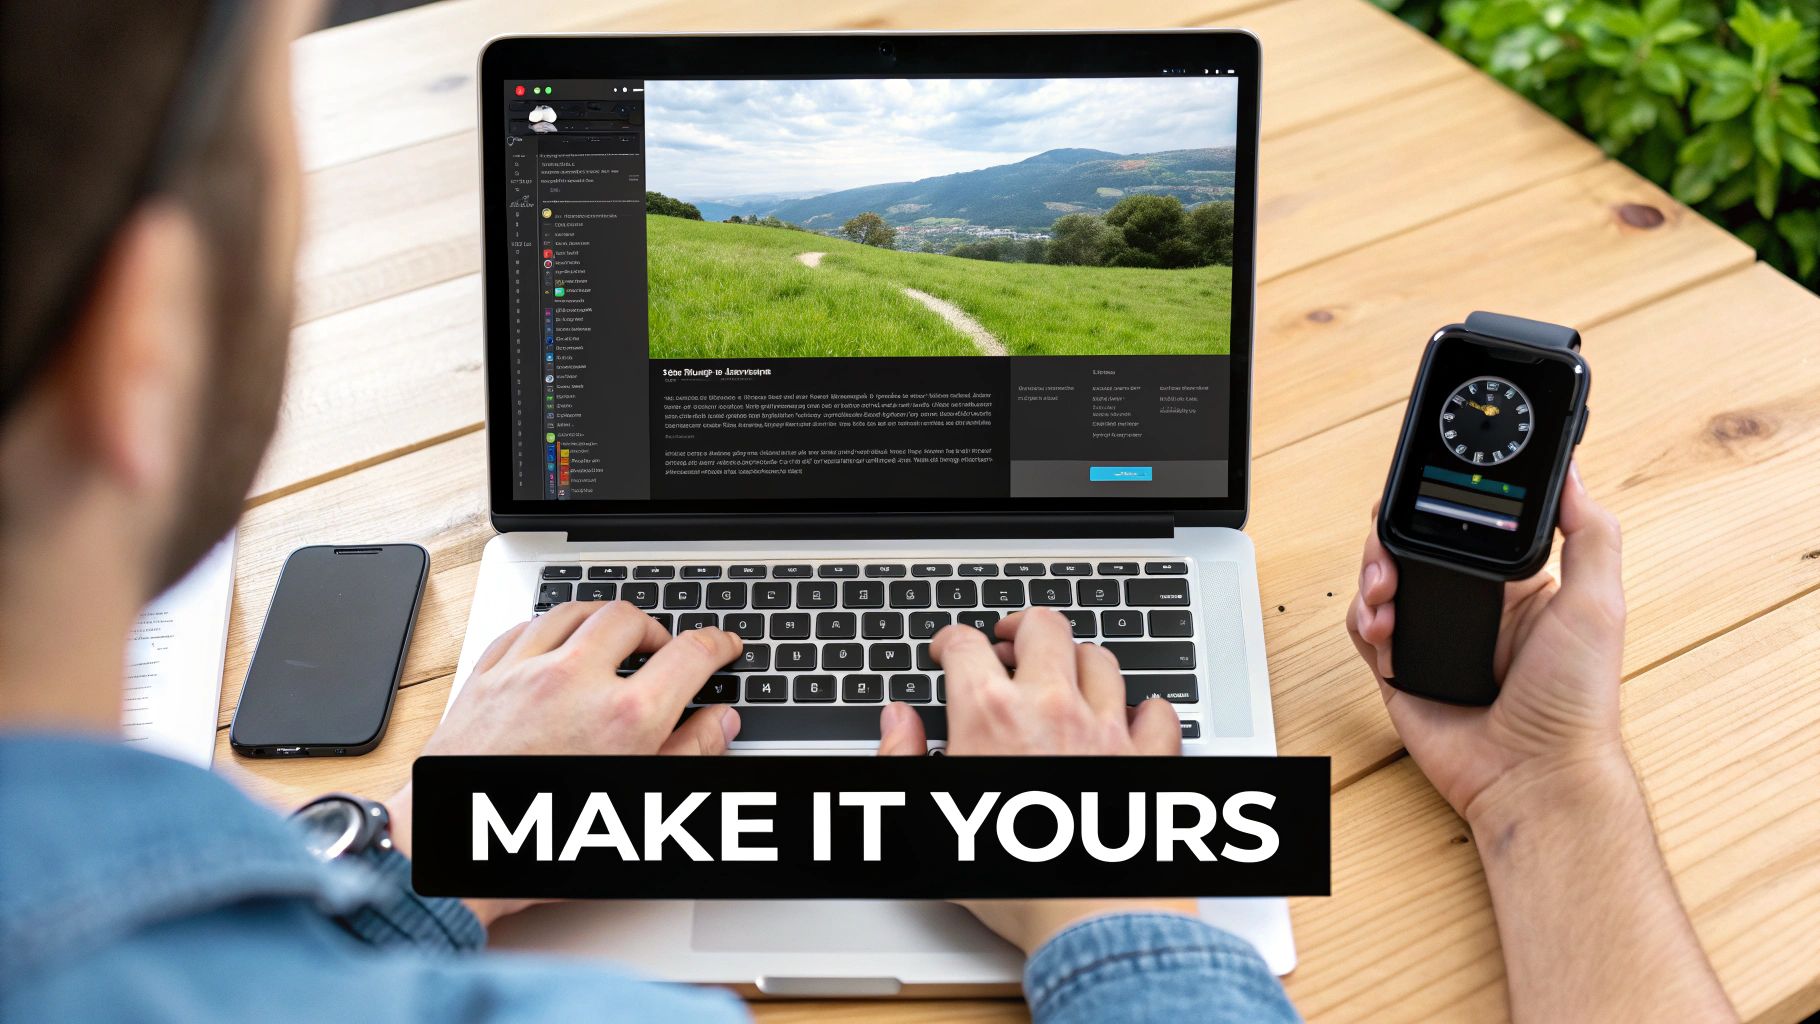
Alright, you've picked your template. Now for the fun part—turning that solid foundation into your app. A high-quality React Native app template is just the starting block. The real magic happens when you infuse it with your brand, your logic, and your unique features.
Let's run through a real-world scenario. Say you just bought a "Fitness Tracker" template. It comes loaded with screens for authentication, a dashboard, and workout logging. Your mission is to transform this generic starting point into your own distinct fitness app.
First thing's first: get the project running on your local machine. This is a non-negotiable first step. It validates that the template is stable and that your development environment is good to go.
npm install or yarn install.npm start or yarn start. This will fire up the Metro bundler, letting you open the app in an iOS simulator, an Android emulator, or even a browser.Seeing the app run smoothly is a huge milestone. It means the core is solid and ready for you to make your mark.
With the app running, let's tackle the visual identity. Most production-ready templates, especially those built with a system like gluestack-ui, are designed for easy rebranding. They centralize all their design tokens, which makes your life a whole lot easier.
You won't have to hunt through dozens of component files just to change a hex code. Instead, you'll find a central theme configuration, usually tucked away at a path like src/theme/config.ts.
Inside this file, you'll find the DNA of the app's entire design system:
By just tweaking the color values in this one file, you can instantly reskin the entire application. Change the primary color from the template's default blue to your brand's green, and you'll see every button, link, and active icon update immediately. For a deeper dive into how these systems work, our breakdown of a powerful React Native UI kit is a great resource.
Visuals are locked in. Now it's time to make the app actually work your way. Let's start with the authentication flow. The template has login and registration screens, but right now, they're probably hitting a mock API. Your job is to wire them up to your real backend.
This usually means finding the service or API functions—often in a folder like src/services/api.ts. Here, you'll swap out the placeholder fetch calls with your own. You'll point them to your API endpoints and make sure they handle the specific data structure your backend uses. For instance, your new login function will call your auth endpoint, securely store the JWT token, and navigate the user to their personalized dashboard after a successful login.
This process is exactly why so many startups lean on React Native. It slashes costs and massively accelerates the push to MVP. By late 2023, it was still the go-to for 35% of developers, a testament to its mature ecosystem that lets you build fast without compromising on quality.
Customizing a template is really a methodical process of replacement. You're swapping out placeholder colors, text, and API calls with your own. Every change brings the app one step closer to your unique vision.
The final piece is connecting your data. Whether you're pulling workout history from Firebase or user profiles from your own database, the approach is the same. You adapt the existing data-fetching logic on each screen to call your API, ensuring the app is filled with real, dynamic content. This is how a generic template truly becomes your product.
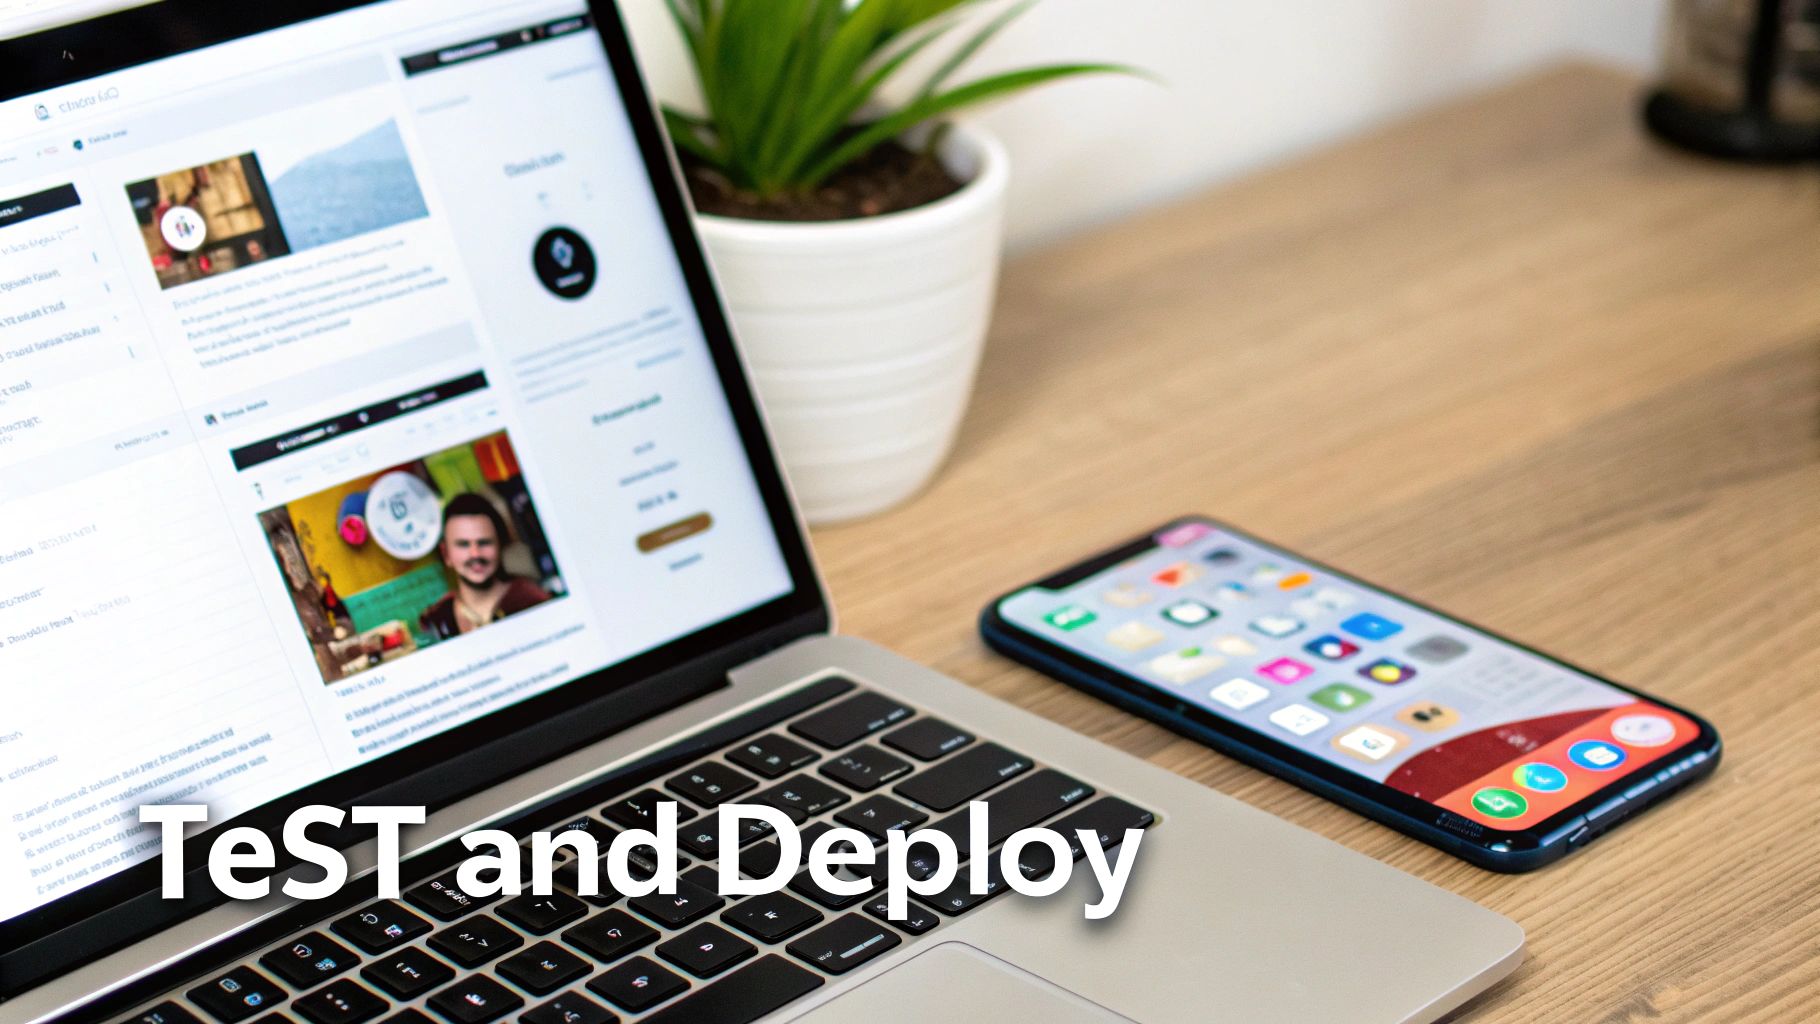
Alright, you've tweaked and tailored your React Native app template, and it's looking great on your local machine. Now for the final stretch: getting it from your computer to the app stores. This part can feel like a maze, but a solid workflow is your best map for getting through it without any headaches. The whole point is to move from development to a live, production-ready app with total confidence.
This journey always kicks off with some serious testing across every single platform you're targeting. Don't just check it on one device. You need to fire up the iOS simulator, an Android emulator, and a web build. Trust me, catching platform-specific UI bugs or logic errors now is way easier than frantically trying to patch a live app with users complaining.
Good testing is more than just making sure the app doesn't crash. You've got to scrutinize every screen, every button, and every interaction to ensure the user experience is consistent and top-notch, no matter the device.
This multi-platform mindset is absolutely critical. The global app market is exploding—it’s projected to hit USD 543.13 billion by 2030—and users expect a flawless experience everywhere. Even when you're using a template to ship faster, you can't skip quality assurance if you want to compete. You can get a better sense of this massive market growth from various detailed industry reports.
I've seen it a hundred times: a team assumes a component that’s perfect on iOS will look and act the same on Android. It often doesn't. Always, always verify. This simple habit will save you from a ton of embarrassing bug reports after launch.
Once you’re convinced your app is stable, it's time to automate your builds. Manually configuring everything for store deployment is a nightmare and a recipe for mistakes.
This is where services like Expo Application Services (EAS) Build come in. They completely take the pain out of this by handling the entire build process in the cloud. You just connect your code repository, set up your credentials, and let the service compile the binaries for the Apple App Store and Google Play Store. It’s a game-changer.
Finally, you need to get your app store listings ready. This is your big marketing pitch to the world, so make it count.
Starting with a quality template makes this whole pipeline so much smoother. The build settings are usually pre-configured and the code is clean, which means you get to focus on the important stuff—testing and marketing—instead of wrestling with obscure configurations.
Thinking about grabbing a React Native app template? Smart move. But it's natural to have a few questions before you jump in. This decision sets the foundation for your entire project, so let's get you some straight answers to the most common things developers ask.
This is probably the biggest one we hear. Are you just stuck swapping out colors and logos?
Not at all. A quality template gives you full source code access. Think of it less like a restrictive theme and more like a professionally-built project starter. You can rip out entire screens you don’t need, wire up brand new features, and completely rewrite the business logic to match exactly what you're building. It's your codebase, through and through.
Absolutely. Templates are designed to be backend-agnostic. They provide the polished frontend UI, but you bring the backend.
So, whether you're using Firebase, Supabase, or your own custom REST API, you'll just replace the placeholder API calls with your own endpoints. The template might give you a beautiful login screen, but the actual authentication logic that powers it? That’s all you.
This is a crucial question, especially in a fast-moving ecosystem like React Native. What happens when the next major version drops?
Most premium templates include future updates with your purchase. The creators handle the heavy lifting of migrating to new React Native versions or dealing with major dependency updates. This alone can save you from a world of breaking-change headaches. Always, always check the seller's update and support policy before you buy.
The key takeaway is this: a template is a starting point, not a locked-in system. You’re getting an expert-built foundation that you have complete control over. Its final form is entirely up to you.
Nobody wants to build navigation from scratch. Most modern templates come pre-configured using a battle-tested library like React Navigation.
You'll typically find common patterns like stack, tab, and drawer navigators already set up. But just like everything else, this structure is fully customizable. You can easily add new screens or re-architect the entire app flow to perfect your user experience.
Ready to stop building from scratch? Explore production-ready templates on gluestack market and launch your cross-platform app in record time. Find your perfect starter kit at https://market.gluestack.io.

Feb 23, 2026
4 min read
Discover powerful mobile app monetization strategies to boost your revenue. Our guide covers IAPs, ads, and subscriptions for React Native apps and beyond.

Feb 22, 2026
4 min read
A clear guide to app development cost estimation. Learn what drives costs, see budget examples, and discover strategies to build your app for less.

Feb 21, 2026
4 min read
Discover how to promote mobile application effectively with proven ASO, paid campaigns, and retention strategies.

Feb 15, 2026
4 min read
Discover how to create a prototype of a website with a practical, step-by-step guide. Explore tools, testing methods, and tips to bring your idea to life.

Feb 14, 2026
4 min read
Confused about mockups vs wireframes? Learn the key differences, when to use each, and how to streamline your React Native app development workflow.

Feb 13, 2026
4 min read
Discover how mobile apps templates accelerate development. Learn to choose, customize, and deploy high-quality React Native templates for your next project.

Feb 12, 2026
4 min read
Explore mobile application interface design with practical tips, core principles, and platform-aware workflows to craft apps users love.

Feb 10, 2026
4 min read
Learn mobile first design principles to craft fast, accessible apps that delight users. Practical tips, examples, and testing strategies.

Feb 08, 2026
4 min read
Explore the progressive web app vs native debate with our in-depth guide. We compare performance, cost, and UX to help you make the right strategic choice.

Feb 07, 2026
4 min read
Discover how React Native templates can accelerate your app development. This guide explores choosing, customizing, and deploying templates for faster launches.

Feb 05, 2026
4 min read
Discover the key differences between expo vs react native, including workflow, builds, and performance to help you pick the right path for your app.

Feb 03, 2026
4 min read
Master image with text overlay in React Native with responsive, accessible patterns. Learn expo setup, NativeWind styling, and gluestack-ui examples.

Feb 03, 2026
4 min read
Discover cross platform app development with proven strategies to build faster for iOS, Android, and the web using a single, unified codebase.

Feb 01, 2026
4 min read
Learn how to make an app for my business quickly with template-based steps from planning to launch, plus tips to scale and optimize.

Jan 31, 2026
4 min read
Ready to build an app? This guide shares practical strategies for validating your idea, choosing a tech stack, and navigating the App Store launch.

Jan 30, 2026
4 min read
Master responsive design for mobile apps with this guide on fluid layouts, breakpoints, and React Native. Build UIs that adapt perfectly to any screen.

Jan 25, 2026
4 min read
Learn how to design an Android app that stands out. This guide covers UX research, wireframing, Material Design, and the developer handoff process.

Jan 24, 2026
4 min read
Explore ui design web essentials: a complete guide to principles, responsive patterns, and workflows for intuitive, engaging web interfaces.

Jan 23, 2026
4 min read
Discover 10 essential mobile app design best practices for building exceptional cross-platform apps. Actionable tips for UI, UX, navigation, and performance.

Jan 21, 2026
4 min read
Discover how to debug React Native apps effectively. This guide covers Flipper, React DevTools, and native code troubleshooting for faster development cycles.

Jan 20, 2026
4 min read
Learn how to create app for your business with a practical, modern approach. Plan, customize, and launch with proven steps.

Jan 19, 2026
4 min read
A complete guide to mobile app development for startups. Learn how to validate your idea, build an MVP, and launch a successful app faster and more affordably.

Jan 18, 2026
4 min read
Discover how to choose the right React website template to accelerate your project. Our guide covers everything from quality checklists to deployment.

Jan 16, 2026
4 min read
Discover how mobile application templates accelerate development. This guide covers how to choose, customize, and launch your app with the right foundation.

Jan 13, 2026
4 min read
Start your journey in mobile app development for beginners. This guide breaks down how to build your first cross-platform app with React Native and Expo.

Jan 12, 2026
4 min read
Explore the best react native ui libraries and compare features, performance, and ease of use to pick the right toolkit for your app.

Jan 11, 2026
4 min read
Launch your own ride-hailing service with our guide to building a production-ready Uber app clone. Learn MVP strategy, tech stacks, and backend integration.

Jan 10, 2026
4 min read
Master modern cash app design with this guide. Learn the UI/UX, security, and React Native strategies needed to build a fintech app that users trust and love.

Jan 09, 2026
4 min read
Learn how to build a personal finance dashboard with React Native. A practical guide for developers on UI design, data architecture, and production readiness.

Jan 08, 2026
4 min read
A practical guide to building a cross-platform event check in app with React Native. Learn to implement QR scanning, offline sync, and deployment.

Jan 07, 2026
4 min read
Master linear gradient React Native components with our complete guide. Learn practical techniques for Expo, bare RN, and NativeWind to build stunning UIs.

Jan 06, 2026
4 min read
Learn how to change application name in your React Native & Expo projects. This guide covers display names, package IDs, and app store listings.

Jan 05, 2026
4 min read
Discover how to monetize mobile apps with our founder's guide. Learn proven React Native strategies for ads, IAPs, and subscriptions to maximize your revenue.

Jan 04, 2026
4 min read
A practical guide on how to create a website app with a single codebase. Learn to build for web, iOS, and Android using React Native, Expo, and TypeScript.

Jan 03, 2026
4 min read
Learn how to create an app for your business with this definitive guide. Discover practical strategies for validation, development, and launch that work.

Jan 02, 2026
4 min read
Learn how to create a wireframe for a website with this practical guide. Move from initial sketches to developer-ready designs that get built right.

Jan 01, 2026
4 min read
Deciding on progressive web application vs native? This guide offers a deep comparison of performance, cost, UX, and use cases to help you choose wisely.

Dec 31, 2025
4 min read
Discover 10 mobile app security best practices for React Native. Learn to secure data, APIs, and code with actionable tips and examples for 2025.

Dec 30, 2025
4 min read
Unlock the real React Native app development cost. Our guide breaks down pricing by feature, team, and complexity to help you budget with confidence.

Dec 29, 2025
4 min read
A practical guide to master your React Native debug workflow. Learn to use Flipper, React DevTools, and Hermes to solve bugs in Expo and bare RN apps.

Dec 28, 2025
4 min read
The ultimate React Native tutorial for beginners. Learn to build beautiful cross-platform apps using a modern stack like Expo, TypeScript, and gluestack-ui.

Dec 27, 2025
4 min read
A practical guide on how to build a mobile app. Learn to go from concept to a market-ready app using templates, React Native, and proven development strategies.

Dec 26, 2025
4 min read
Discover interface design for websites with actionable tips on layout, responsiveness, and usability to boost conversions.

Dec 25, 2025
4 min read
Discover designs for apps that blend minimal aesthetics with personalization, and learn to build user-centric interfaces that boost engagement.

Dec 24, 2025
4 min read
Learn graphical interface design - essentials for mastering core principles, modern workflows, and cross-platform strategies to build intuitive, engaging UIs.

Dec 23, 2025
4 min read
Discover how high fi wireframes bridge the gap between ideas and code. Learn a practical workflow for creating, testing, and handing off effective UI designs.

Dec 22, 2025
4 min read
Discover mobile app interface design with practical principles, accessibility, and workflows that boost user engagement.

Dec 21, 2025
4 min read
Explore the top 10 UI UX design trends for 2025. Get expert insights and practical React Native tips to build next-gen cross-platform apps that stand out.

Dec 20, 2025
4 min read
Discover how mobile app templates accelerate development from idea to launch. Learn to select, customize, and deploy templates for a faster time to market.

Dec 18, 2025
4 min read
Explore the best react native ui libraries to accelerate mobile development with performance, theming, and accessibility. Expert tips inside.

Dec 16, 2025
4 min read
Master React Native PDF handling. Learn to generate, view, and share PDFs with practical code examples, library comparisons, and performance tips.

Dec 15, 2025
4 min read
A practical guide to choosing the right React Native component library. Learn how to evaluate options, avoid common pitfalls, and build apps faster.

Dec 14, 2025
4 min read
Find the perfect React Native UI library for your project. This guide compares top libraries, selection criteria, and customization strategies.

Dec 13, 2025
4 min read
Learn how to change app name in React Native and Expo. Our guide covers display names, bundle IDs, and store listings for iOS and Android projects.

Dec 12, 2025
4 min read
Discover the best React Native component library for your next project. We compare top libraries on performance, customization, and real-world use cases.

Dec 11, 2025
4 min read
Discover how to choose the right React Native UI kit. This guide covers top kits, selection criteria, and customization to accelerate your app development.

Dec 10, 2025
4 min read
Explore our in-depth guide to find the best React Native UI library. We compare top contenders to help you choose the right fit for your project.

Dec 09, 2025
4 min read
Discover a practical approach to building apps with React Native. This guide covers setup, UI, state management, and testing to help you ship great apps.

Dec 08, 2025
4 min read
android login with facebook: Learn to set up the Facebook SDK, manage tokens, and implement secure authentication across native Android, cross-platform apps.

Dec 07, 2025
4 min read
Master the alert in React Native. Learn to handle platform differences, build custom modals, and apply best practices for a seamless user experience.

Dec 06, 2025
4 min read
keyboardavoidingview react native: Master keyboard handling with KeyboardAvoidingView across iOS, Android, Expo, and TypeScript.

Dec 05, 2025
4 min read
A practical guide to implementing a React Native PDF viewer. Learn to compare libraries, handle native setup, and troubleshoot common issues with real code.

Dec 04, 2025
4 min read
how to validate startup idea: learn proven methods like customer interviews, MVPs, and metrics to confirm market fit.

Dec 03, 2025
4 min read
how to make app like uber: Learn core features, tech stack, development steps, testing, and launch tips.

Dec 02, 2025
4 min read
Build a rock-solid React Native setup. This guide covers Expo vs. Bare workflows, TypeScript, pnpm monorepos, NativeWind, and deployment strategies.

Dec 01, 2025
4 min read
A practical guide to Stripe React Native integration. Learn to set up your server, build payment UIs, handle webhooks, and launch secure mobile payments.

Nov 30, 2025
4 min read
Learn how to master push notifications in React Native. This guide covers setup, best practices, and advanced techniques for engaging your users.

Nov 29, 2025
4 min read
Build powerful location-based apps with our practical guide to react native with google maps. Get setup guides, pro tips, and best practices for iOS & Android.

Nov 28, 2025
4 min read
Explore deep linking react native with a practical guide to configuring URL schemes, universal links, navigation, and testing for Expo and bare apps.

Nov 28, 2025
4 min read
A practical guide to building a scalable React Native design system. Learn to implement tokens, theming, and tools like NativeWind and gluestack-ui.

Nov 26, 2025
4 min read
Learn why react native expo templates speed up your projects with ready-made patterns and practical tips.

Nov 25, 2025
4 min read
Discover how to improve developer productivity with actionable strategies for workflow, tooling, and culture. A practical guide for software engineering teams.

Nov 24, 2025
4 min read
Discover the best cross platform app development tools. Compare top frameworks like Flutter and React Native to build and ship apps faster.

Nov 23, 2025
4 min read
This Expo React Native tutorial provides a hands-on guide to building cross-platform apps. Learn setup, styling with NativeWind, navigation, and deployment.

Nov 22, 2025
4 min read
Build beautiful UIs faster with this guide to Tailwind CSS React Native. Learn setup, styling, and advanced techniques with NativeWind for mobile apps.

Nov 21, 2025
4 min read
Explore our curated list of 7 top-tier React Native app examples. Discover production-ready templates and resources to build your next app faster.

Mar 19, 2025
4 min read
gluestack market offers React Native UI templates to accelerate development. Get customizable, production-ready React Native app templates and Ui kit, some free. Build faster & smarter today!